Project Examples
| Site: | MyCourses |
| Course: | KON-C3003 - Mekatroniikan harjoitustyö, Luento-opetus, 10.1.2023-13.4.2023 |
| Book: | Project Examples |
| Printed by: | Guest user |
| Date: | Friday, 15 November 2024, 6:13 PM |
1. Bluetooth Controlled Car
This chapter contains different approaches how to program a bluetooth controlled car.
For more info regarding the different components used and how to program them:
Problems encountered:
- Ultrasonic sensor randomly gives a low reading (in our case exactly the value 3).
- Motors drain a large amount of current from the batteries.
- Bluetooth messaging causes jittering in the servo motor.
- Integers go below the minimum value, underflowing to the maximum value.
- Calling a function recursively too many times makes the call stack too big, which crashes the Arduino.
- The loop taking too long triggers the Watchdog Timeout interrupt, which resets the Arduino.
- The servo doesn't have enough time to move and take measurements before it has to move again.
Solutions:
- Calculate a running average on the ultrasonic sensor readings and/or discard outliers to get more correct results.
- Use a fitting power source, e.g rechargeable batteries or a power bank. Also try not to change from one direction to another instantly. Doing so wastes a lot of power.
- Detach the servo motor when it's not in use. This will solve interference with the SoftwareSerial library used for bluetooth.
- Make sure you use fitting data types for your variables, e.g not unsigned if the value can be negative.
- Don't make recursive calls that can loop many times. Depending on the size of your program, the Arduino might crash after only a few recursive calls.
- Call the yield() function to allow the micro controllers background functions to run if you have a long blocking function. This will also reset the watchdog timer.
- Give a sufficient delay after each servo move so it has enough time to reach its end position.
1.1. Simple Bluetooth Car
Description:
This code provides an easy way to control a dc-motor driven vehicle. It allows for driving and turning at constant speeds. It also has an on-board ultrasonic sensor to detect incoming objects and prevent frontal collisions. The bluetooth app controlling the car has five buttons; two for driving, two for turning, and one for stopping in place.
1.2. Bluetooth Car (Variable Speed)
Description:
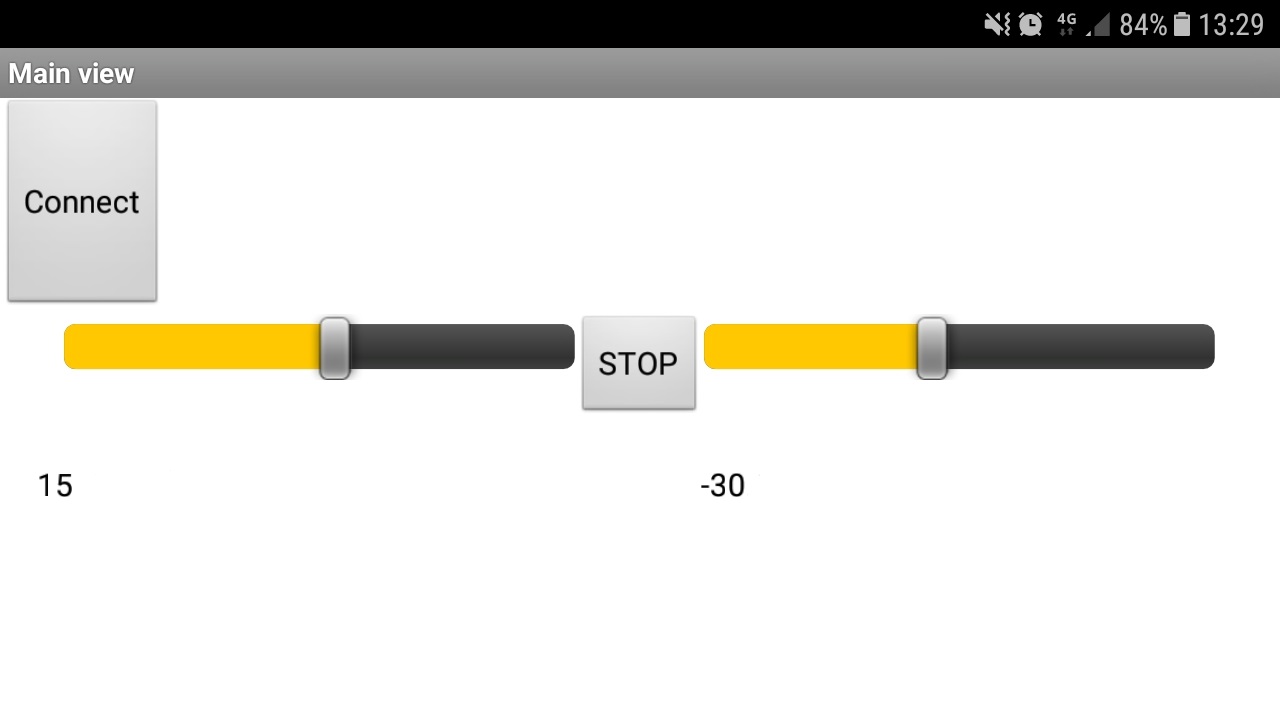
This code allows for more precise control of a dc-motor driven car via bluetooth input. It supports variable driving and turning speeds, and has an on-board ultrasonic sensor to detect incoming objects and prevent collisions. The mobile app controlling the car has two sliders; one for controlling the speed of the car and the other for controlling the turning.
Mobile app: Download the .apk to install it on your phone or the .aia to import it to MIT App inventor 2 to modify it.

1.3. Simple AI Car
1.4. Self-driving Car
2. Temperature Window Opener
Description:
This code is split into two parts: The Wemos D1 Mini hosts a web server on WiFi for control and also measures the current temperature in our room.
The NodeMCU asks the Wemos for temperature readings over WiFi and then controls a stepper motor that opens a window depending on the temperature and threshold it receives from our sensor.
Note that if you download the code below, you will have to split it into separate files, since the tabs still count as beloning to the main .ino file.
Parts used:
TMP36 Analog temperature sensor, Nema 17 Bipolar stepper motor, Wemos D1 Mini board and NodeMCU v1.0 board with ESP12E motor shield. Although we used different booards for each part, any ESP8266 microcontroller should work.
3. Multipurpose Alarm Clock
Description
This device let's you set an alarm or show the surrounding temperature. An infrared remote is used to switch the display between showing the remaining alarm time or the current temperature, as well as setting the alarm timer.To use the alarm, the user has to first switch to press the alarm button. Then they can add either one hour or 5 minutes with two other buttons, to a maximum of 23 hours and 55 minutes. After the duration has been decided, the timer is started by pressing the alarm button again, but additional time can still be added even if the timer is going. Pressing the alarm button a third time will cancel the alarm. If the timer runs out naturally, the piezo speaker will buzz for up to a minute, or until the alarm button is pressed again.
Adding additional features to the clock is relatively easy, as you simply need to add an additional match case and assign it to a hex code corresponding to a free button on your remote, then implement .
Parts used
LCD screen, TMP38 temperature sensor, Arduino Uno, Piezo speaker, Infrared sensor and remote.
