ARTS-A0702 - Digitaalinen maalaus ja vektorikuvitus (verkkokurssi), 25.02.2019-31.05.2019
This course space end date is set to 31.05.2019 Search Courses: ARTS-A0702
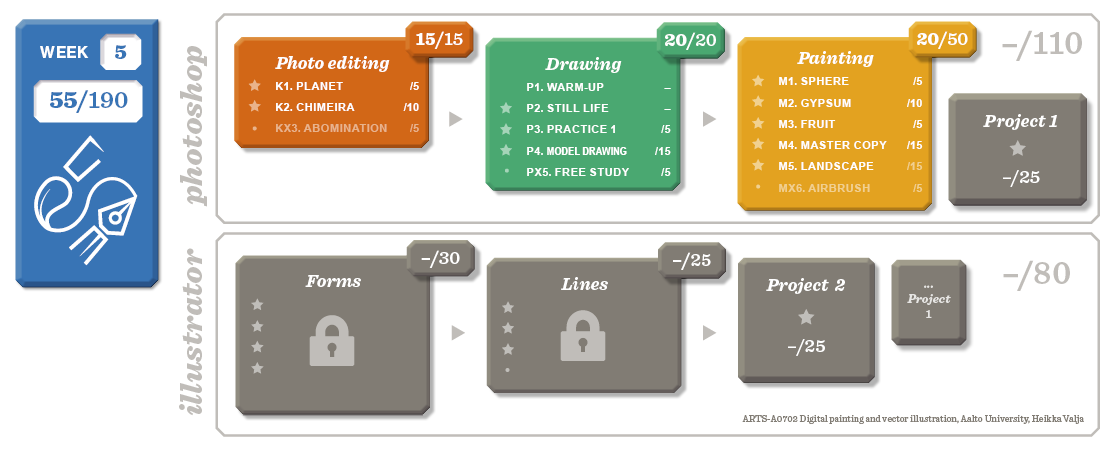
Week 5. Painting colour 2

This is the second to last painting week. Please start to consider what kind of a Photoshop project might interest you.
You can check the course gallery or do a Google search or Pinterest.
This week we'll continue painting with colour.
You will learn advanced techniques like:
- Softer blending with "Pressure for size"
- Creating own brush tips
- Using lasso as mask
Please watch the two lectures and the assignment demos closely.
Lecture 1. Pressure size/opacity
Lecture 2. Custom brush tip
M4. Master copy */15 (phase 2/2)
Name the file "M4_YourName_2.jpg"
Goal
Learn the basic techniques of classical portrait painting. Learn from the masters
Tools | Brush and (alt-click) Eye-dropper |
Assignment | Paint a copy of the oil painting |
Brush setup | Paint brush Tip can be a textured one from the course presets (or from "Legacy brushes" folder) You can use a tip made by yourseld |
| Model image | Paintings 1-6 or a portrait painting with a painterly feel and face divided into shadow and light. |
Instructions |
|
Assessment criteria |
|
Time to be used | 2-3 hours of blocking in the areas precisely with around 4 colours 2 hours of building the light areas |
Video | Demo Master copy 2 |
M5. Landscape */15 (phase 1/2)
This painting will be done in two phases, first this week and the second next week.
The first phase is not graded, return it still and fill the self assessment.
This week we will block in all the areas and work the background to be ready.
Name the file "M5_YourName_1.jpg"Goal
Learn how a landscape is formed
Tools | Brush, (alt-click) Eye-dropper, Lasso |
Assignment | Paint the landscape by blocking in the forms and finishing the background |
Brush setup | Paint brush
Colour is chosen from the Swatches panel or occasionally from the Color panel and saved to Swatches |
| Model image | Landscape 1-5 or from an online source with clear fore, middle and background area |
Instructions |
|
Assessment criteria |
|
Time to be used | 2-3 hours of blocking in the areas precisely with around 4 colours 1-2 hours of painting the background areas |
Video | Demo Landscape 1 |