ELEC-E5720 - Virtual Instrumentation, 13.09.2020-05.09.2021
This course space end date is set to 05.09.2021 Search Courses: ELEC-E5720
Topic outline
-

In virtual instrumentation, hardware measurement devices are combined with customizeable software to create sophisticated measurement systems. Virtual instrumentation is commonly used in, e.g., automated testing and measurement facilities, to relieve the user from operating each piece of equipment separately.
Overview
The purpose of the course is to teach the student the basics of virtual instrumentation. After the course, the student knows how to build computer-based measurement systems, and how to interface with hardware instruments using different types of interfaces.
Virtual instruments are commonly operated by users other than the original programmer. When the measurement systems are modified and expanded, the virtual instruments need modifications as well. Therefore, special emphasis is given to good programming practices, such as code documentation and commenting and the use of appropriate design patterns.
The programming language of the course is National Instruments Labview which is a visual progamming language that is widely used for virtual instrumentation in measurement and testing facilities. (Please contact the responsible teacher if you want to use another virtual instrumentation environment in your project.)
Registration
WebOodi registration for the course is not required. Contact the responsible teacher (details below) with your project idea.
Passing the course
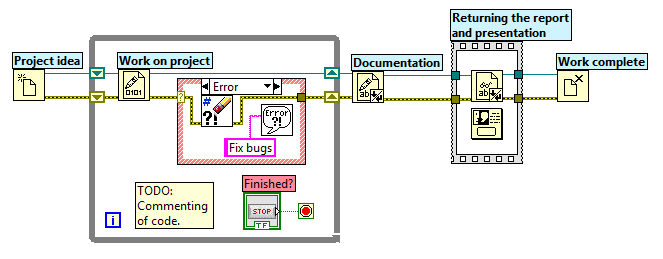
At the moment, the course is held as a self-study course. The student learns the basics of Labview using the self-study material posted in the Materials section of the course webpage. After this, the student designs and programs a virtual instrument. The project is then documented and presented to the responsible teacher.
Project work
The student can choose the subject of the project work freely. It is preferable that project is based on equipment the student has easy access to through, e.g., personal life, hobbies, studies, or work. Labview allows easy interfacing with audio instruments, web cameras, microcontrollers, and most other instruments that provide some form of instrument-to-computer interface. For more information about the project work, see the Project work section of this webpage.
Before starting to work on the the project, please contact the responsible teacher and outline your project idea to him.
Documentation
While the main emphasis of the course is on the project itself, documentation of the code is an important part of the programming process. Therefore, the student is required to write documentation of the project which should describe the operating principle of the program, as well as give instructions on how to use the program. While the document should give a good overview of the program, every block needs not to be explained in detail, and the student can focus on more interesting and exotic pieces of the implementation. In addition to the written report, the student needs to comment the code itself.
Presentation
When the program and documentation are ready, the student sends both the code and the report to the responsible teacher. The teacher goes through the code and the report, and suggests revisions if necessary. The student and the teacher arrange a meeting where the student presents the program and answers the teacher's questions about the program, the writing process, Labview, and the course in general. If possible, a demonstration of the virtual instrument is given using the actual measurement hardware, but it is not mandatory for passing the course.
Grading
The main emphasis of the course is on the project work. Grading is based on the quality and scope of the project work, and the documentation of the code. The student should make use of the advanced features of Labview (e.g. subVIs, data clusters, ready-made VIs, and advanced design patterns) whenever justified in order to make the code efficient, readable, and easy to modify and expand. The student has to be able to justify his/her design decisions (e.g. the selected design pattern) to the teacher during the presentation at the end of the project.
The student has a chance to revise the code and the documentation based on the feedback from the teacher.
Schedule
The course can be started at any time and there is no strict time limit for completion. However, completion of the project work should not be prolonged needlessly. Please contact the responsible teacher about your intention to start the course.
Responsible teacher:
Janne Askola (at aalto.fi)
