ARTS-A0702 - Digitaalinen maalaus ja vektorikuvitus (verkkokurssi), 24.02.2020-29.05.2020
Kurssiasetusten perusteella kurssi on päättynyt 31.05.2024 Etsi kursseja: ARTS-A0702
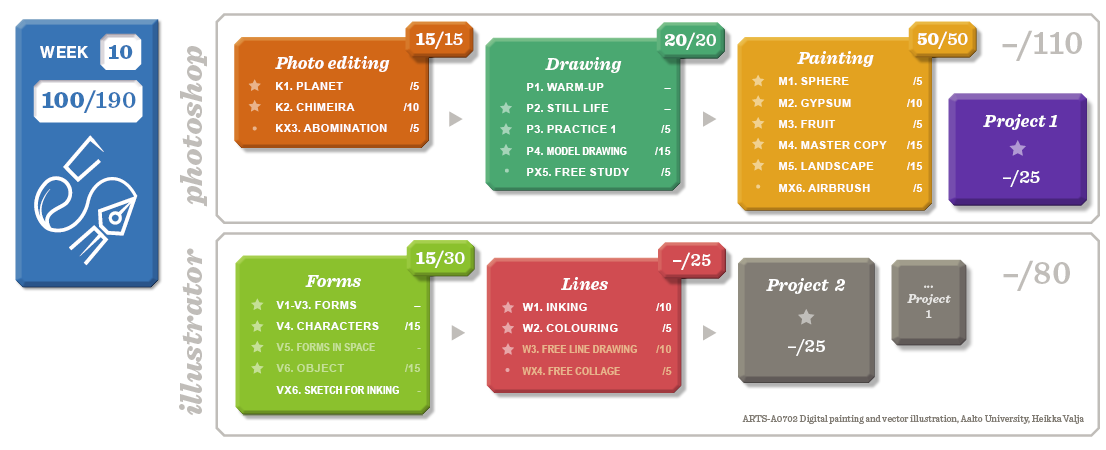
Week 10. Stroke and gradient basics

Points . | Grade |
60 | 1 |
90 | 2 |
120 | 3 |
150 | 4 |
170 | 5 |
This week we'll do vector inking and colouring.
For inking, we learn about creating vector lines and how to use profiled strokes.
For colouring we learn the basics of gradients.
After this week you should be friends (or enemies) with the pen tool :)
First, the basics of stroke:
After this you can study how stroke width profiles work and then proceed to the inking assignment
You can watch the next lecture after some time into the assignment or beforehand.
This lecture shows how to change the profiled strokes with the width tool.
You might not need this tool at all, but you should create the profiles shown on the video.
W1. Vector inking */10
Tools | Basic tools: Pen, Anchor point, Selection, Direct selection The Width Tool |
Assignment | Ink the sketch with profiled strokes and/or fill colour |
Reference | Your photoshop sketch |
Instructions |
|
Assessment criteria |
|
Time to be used | 4-5 hours |
Video | Demo Vector inking |
After the inking, you can watch the Gradient basics lecture. Do the tests suggested in the lecture.
If you want, you can use the
W1. Colouring the ink drawing */5
Tools | Basic tools: Pen, Anchor point, Selection, Direct selection |
Assignment | Colour the ink drawing with fill colours |
Reference | Your ink drawing |
Instructions |
|
Assessment criteria |
|
Time to be used | 2-3 hours |
Video | Demo Colouring |
