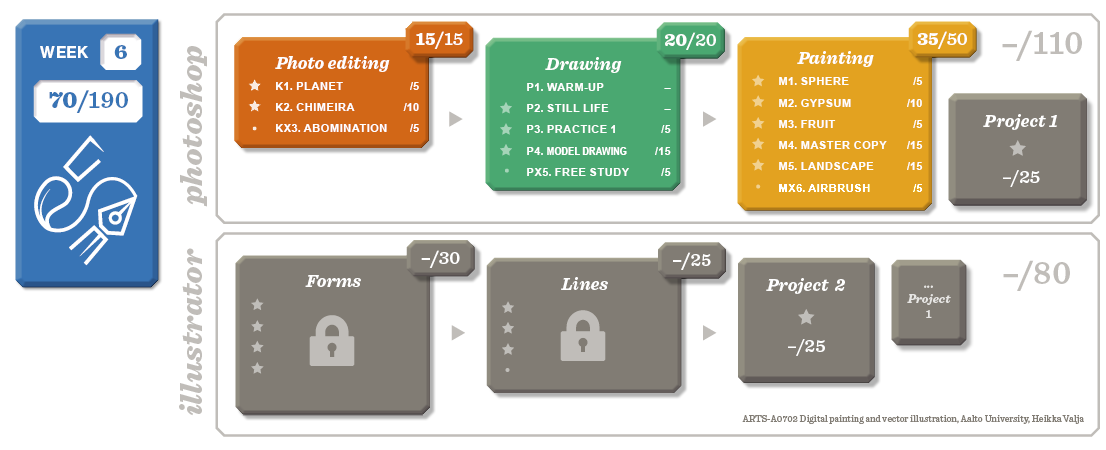
This week we will finish our landscape painting and the two extra assignments are introduced. You can return the extras also later. Please consider what type of project you would like to do starting next week. You should glance the techniques on the extra assignments even though you would not return them.
This week you will learn how to create a texturizing brush.
And how to use it
Assignment
M5. Landscape */15 (phase 2/2)
This week we will texture and finish the landscape.
Name the file "M5_YourName_2.jpg"
Goal Learn how to texture a landscape
Tools
Brush, (alt-click) Eye-dropper, Lasso
Assignment
Finish the landscape by texturing it
Brush setup
Paint brush Size 100-500px, Hardness 100% or 0% when using as an airbrush Opacity 30% when mixing/blending, 60-80% when painting Opacity 5-10 can be used in glazes (Flow 100% and Smoothing 0%) Colour: Start with the colours in the Swatches meny, mix colour on the canvas “Always use pressure for size” pressed when painting "Always use pressure for opacity" pressed when blending
Tip can be a textured one from the course presets (or from "Legacy brushes" folder)
You can squeeze the tip to be flat horizontally or you can use a tip made by yourself
Air and light are painted with large, round, soft brush
Texture brush Brush settings (F5)
A suitable tip
Scatter from Scattering submenu
Spacing from Brush tip shape submenu
Angle jitter from Shape dynamics (100% for general texture, less for grass etc)
Colour is chosen from the Swatches panel or occasionally from the Color panel and saved to Swatches
Model image
Landscape 1-5 or from an online source with clear fore, middle and background area
Instructions
Paint the areas precisely with the colour of the shadow
Paint the texture on the middle and foreground with a texture brush
Assessment criteria
The parts of the landscape are in correct positions by painting the base colours exact
The image is textured in a smart manner (mostly on the foreground)
The colours and contrast communicate the depth in the image
Time to be used
4 hours
Video
Demo Landscape 2
Extra assignments, checking the demos is mandatory :)
MX3. Airbrush /5
Goal Learn how to pre paint a painting with an airbrush and how to colour a greyscale image
Tools
All
Assignment
Draw, paint and colour a character
Brush settings
"Pencil”
Round tip brush
Size 7-20px, Hardness 100%
“Always use pressure for size” pressed
Opacity 40% (Flow 100% and Smoothing 0%)
Colour: 60% grey
Eraser
Size 50px, Hardness 100%
Opacity 40
Airbrush
Size 100-1000px, Hardness 0%
Opacity 5-100%
(Flow 100% and Smoothing 0%)
Used in tandem with the lasso
Paint brush
Size 100-500px, Hardness 100%
Opacity 30% when mixing/blending, 60-80% when painting
Opacity 5-10 can be used in glazes
(Flow 100% and Smoothing 0%)
“Always use pressure for size” pressed when painting
"Always use pressure for opacity" pressed when blending
Tip can be a textured one from the course presets (or from "Legacy brushes" folder)
You can use a tip made by yourself
Model image
This assignment you can do without a reference
Instructions
Line drawing on its own layer
Paint under drawing layer with a soft round brush (airbrush) and the lasso tool
Merge the drawing with the airbrush layer
Continue with the airbrush and lasso
Paint with a normal paint brush
Paint colour to its own layer, which has the blending mode "color"
Assessment criteria
There are soft transition combined with harder brushes
There is light, bounced light and shine in the image
Time to be used
4 hours
Video
Demo Airbrush
KX3. Abomination /5
The demo+lecture has quite a lot happening. You don't need to use all the techniques in the demo.
Name the file "M5_YourName_2.jpg"
Goal Learn how to combine image manipulation and painting tools in a collage
Tools
All
Assignment
Create a horrific portrait of yourself
Model image
Taken by yourself and found online
Instructions
Think about what makes an image horrific
Search images online
Make sure images you are using are ok sized
Use fitting images
Adjust the images for better match
Use photo textures and filters
You can also paint on the image
Assessment criteria
The transitions are unnoticable
Manipulation, collage and/or painting are used in an imaginative way
There is a strong atmosphere in the image and it is horrific