
OK7 Set Design Workshop
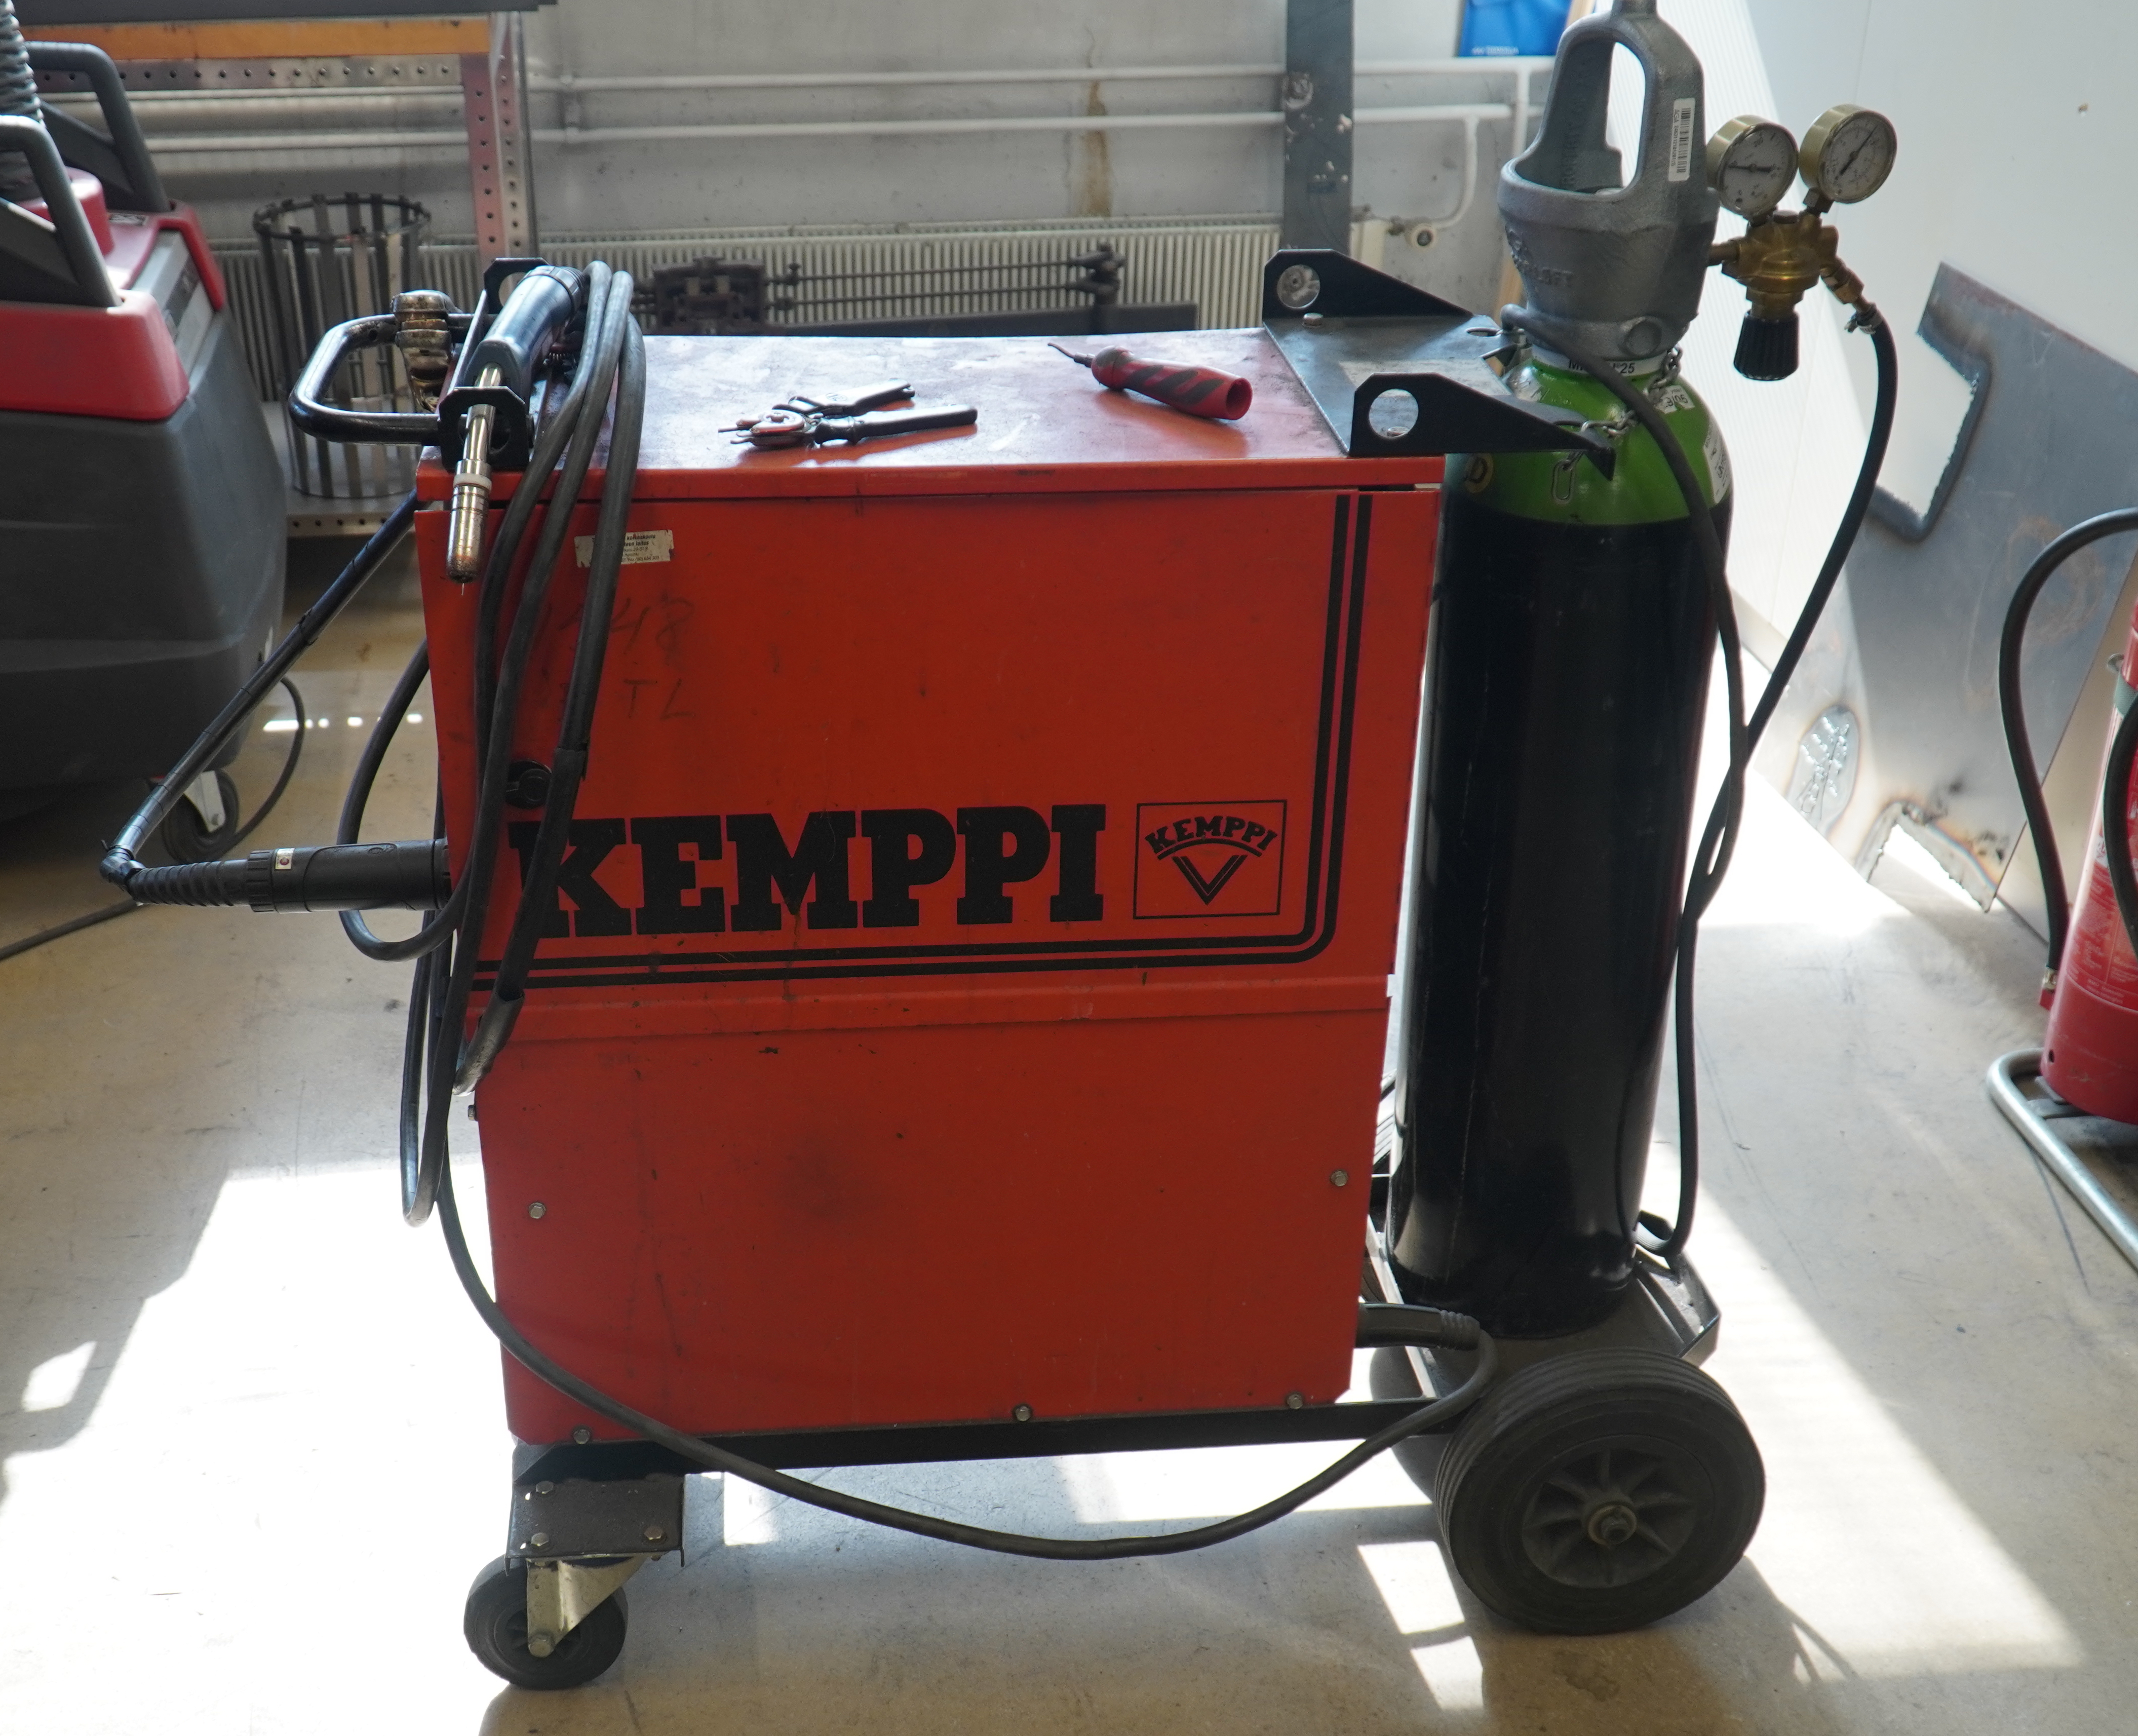
MIG welding
Completion requirements
Preparations before working:
- Remove all flammable materials from the surroundings before you start welding.
- Wear fire resistant protective clothing with good coverage.
- Wear long leather welding gloves and safety boots.
- Wear a full-face welding mask with a lens shade of DIN 8-10.
- In addition to protecting yourself, protect the environment from molten metal drops and ultraviolet radiation by using movable protective walls.
- Inspect the fire extinguishing equipment: check the functionality and location of the dry powder extinguisher, stirrup pump and fire blanket.
- Always use the welding vacuum cleaner for local suction, and make sure that the space is well ventilated.
- Due to the risk of metal fume fever, do not weld even the tiniest amount of galvanised iron, copper or aluminium.
- The workpieces must be cleaned of all paint, grease, rust and other dirt.
Welding:
- First, carry out an inspection to ensure that the welding machine’s power cord, welding cables and welding torch are undamaged.
- Open the shielding gas bottle by turning the valve on top of the bottle half a turn to the left. Check the gas meter to see that the pressure in the bottle is above 2 bar and the gas flow is approximately 10–15 l/min. Ask the staff to adjust the gas flow or replace an empty gas bottle when necessary.
- Switch on the main power.
- Make sure that the ground wire is attached to the workpiece or close to it if you are working on a welding table.
- Adjust the welding current and the wire feed speed from the switches on the panel of the machine. Start with low welding current and slow wire feed speed for thin material. Gradually set the welding parameters higher, until the sound of the welding is steady crackling, the metal is melting, and you can control the process.
- Tack-weld the pieces together with small welds approximately 10 centimetres apart. Make sure that the hot wire does not touch your finger during the process.
- Welding is initiated by pressing the welding torch operating switch. The welding distance is correct when the length of the free wire is approximately 10 mm. Weld the pieces together by moving the torch at a steady speed, either in a straight line or in a sideways zig zag motion.
- Turn off the power from the main switch and close the gas bottle valve by turning it to the right.
- Clean up after yourself! Cool down a hot workpiece or mark it with a warning sign.
- Remove the welding splatter from your work mechanically by grinding.
Last modified: Wednesday, 25 August 2021, 2:05 PM